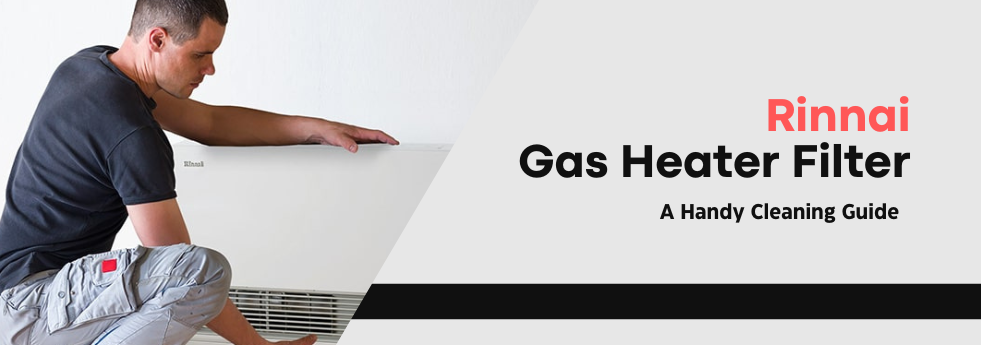
It is imperative to maintain your gas heating system for winter comfort. Apart from the natural wear and tear, inadequate maintenance or improper usage can lead to issues in your Rinnai heater over time. While some significant problems require professional assistance, cleaning the air filter is easy. Rinnai offers a wide range of efficient and durable gas heaters. A step-by-step guide will show you how to clean your Rinnai gas heater filter.
How Does a Rinnai Gas Heater’s Air Filter Work?
The gas air filter is vital in shielding the blower fan against unwanted elements such as hair, dirt, and harmful particles from entering your heating system. Additionally, it contributes to improving the air quality circulating in your home by purifying it.
When the gas air filter gets blocked, a red flashing light indicates the need for cleaning the heater’s filter to optimise airflow. It is important to note that Rinnai gas heaters do not feature pilot lights.
Easy Steps to Clean & Maintain Your Rinnai Gas Heater Filter:
Proper maintenance of your Rinnai gas heater filter ensures optimal conversion rates. Instead of waiting for flashing light error codes, it is recommended to clean your heater periodically. Please avoid using your Rinnai gas heater when the filter warning is on, as it can lead to overheating. Follow these simple steps to clean the air filters and resolve the filter flashing light issue in your Rinnai heater.
Step #1: Switch Off the Heater
Before cleaning, you must shut down your Rinnai gas heater. Press the power button to shut down the device and unplug it from the outlet.
Step #2: Locate the Filter
You’ll locate the filter cover by removing the back panel from the rear of the gas heater, giving access to the control panel. Using a screwdriver, unscrew the screws and locate the Rinnai gas heater filter around four inches behind the control panel.
Step #3: Remove the Filter
Take caution while performing this step to avoid damaging your Rinnai gas heater. Reach out to the filter, grip it firmly with your hands or an appropriate tool, and gently pull it out.
Step #4: Clean the Filter
The most crucial step is cleaning the filter, and it’s a straightforward process. Turn on a vacuum cleaner and direct the airflow towards the filter blockage. The vacuum will effectively remove all debris from the filter.
Step #5: Reassemble the Parts
After cleaning, you must refit all the parts back to the gas heater. So, put the filter back in its place, screw and secure the control panel. Finally, switch on the device, and you should no longer see a flashing red light on your Rinnai heater.
Maintenance Tips for Your Rinnai Gas Heater
Follow these simple maintenance tips to ensure optimal performance and efficiency of your Rinnai gas heater.
- Always unplug your heater before commencing the cleaning process.
- Use a soft, moist microfibre cloth to clean various parts of the heater.
- Refrain from using solvents to clean any part of your heater.
- Never store flammable materials near your Rinnai gas heater.
- Keep spray aerosols away from the vicinity of your heater.
- Avoid placing objects on or against your gas heater, and ensure proper airflow.
Rinnai Australia recommends conducting inspections and maintenance every two years. If you come across a damaged power cord or element, you should seek servicing from Rinnai or a professional gas heater service specialist from Rinnai. Refer to your owner’s operation and installation manual for contact information and guidance.
Common Rinnai Gas Heater Error Codes & Troubleshooting Tips
The Rinnai gas heater has a self-diagnostic electronic system that monitors its operation during startup and usage. If a fault occurs, the heater will automatically shut down, and you will see a pair of flashing digits on the digital display.
The specific error codes may vary depending on your Rinnai model. For the Rinnai Avenger 25, Dynamo 15, Enduro 13, or Blaze 21, pay attention to the following error codes related to the air filter:
- Error Code 10: It indicates a possible oxygen shortage. To solve error code 10, clean the air filter, ensure proper room ventilation, or contact the service team if the issue persists.
- Error Code 14: This error may result from a blocked or overheated air filter. Clean the air filter thoroughly or seek assistance from the service team if the problem continues.
Using the installation instruction manual, you can troubleshoot for other portable gas heaters, such as:
- Rinnai Avenger 25plus
- Rinnai Dynamo
- Rinnai Granada
- Rinnai Titan
- Rinnai Cosyglow
- Rinnai Econoheat
- Rinnai Energysaver plus
Final Words
Regular cleaning of your Rinnai gas heater filter is crucial for maintaining its efficiency and ensuring optimal performance. Following this step-by-step guide, you can easily clean the air filters and solve flashing light error codes. Before cleaning, always remember to switch off the heater and use appropriate cleaning methods.
Additionally, it is essential to adhere to the recommended maintenance schedule and contact professionals when necessary. By properly caring for your Rinnai gas heater, you can enjoy its reliable heating capabilities and prolong its lifespan.
If you’re looking for professional Rinnai Gas Heater Services in Sydney, call Sydney Plumbing at 0402 487 444 and schedule an appointment today!

 0402 487 444


